Introduction
ChronoTrack Live now offers the ability to tag athletes in photos using state-of-the-art Optical Character Recognition (OCR). This service can be triggered from the Media > Photos tab on a per-camera basis. This functionality means that you can now upload photos that don't correspond to timing data (such as photos in front of backdrops) and sync them with two clicks.
This feature is currently in BETA, so any and all feedback is appreciated as we bring this feature to full-fruition.
During the beta period, the OCR service is free, but after full release, a charge of $0.01 USD per photo submitted will be in effect.
When Should I Use the OCR Service?
Any time you've got photos that can't be auto-synced using timing data, but where athlete bibs are clearly visible in the photos, OCR will help. Whichever method you use, always make sure athletes are wearing their bibs correctly (worn on the midriff). OCR relies on bib numbers being clearly visible, so if bibs were printed with poorly-contrasting colors, the service may not work well.
In general, any time there is a timing line in the photo frame, you should use Auto-Sync instead of OCR.
If you're not sure which method to use for your photos, feel free to send a couple samples to the support team, and we'll give you some advice.
A Warning About Photo Backdrops!
The OCR service will only identify up to 50 words in an image. If you're using a photo backdrop in your event, make sure it's not too "wordy" or photos may not sync correctly!
How to Submit Photos for OCR Tagging
We recommend Uploading Images intended for OCR tagging to a unique Camera Device, separate from photos that will be auto-synced. To ensure no unnecessary costs are incurred, make sure that there are no "blank" images without participants in them in your upload.
Wait until the upload job completes to 100% in the Media Uploader before starting OCR Tagging in CT Live.
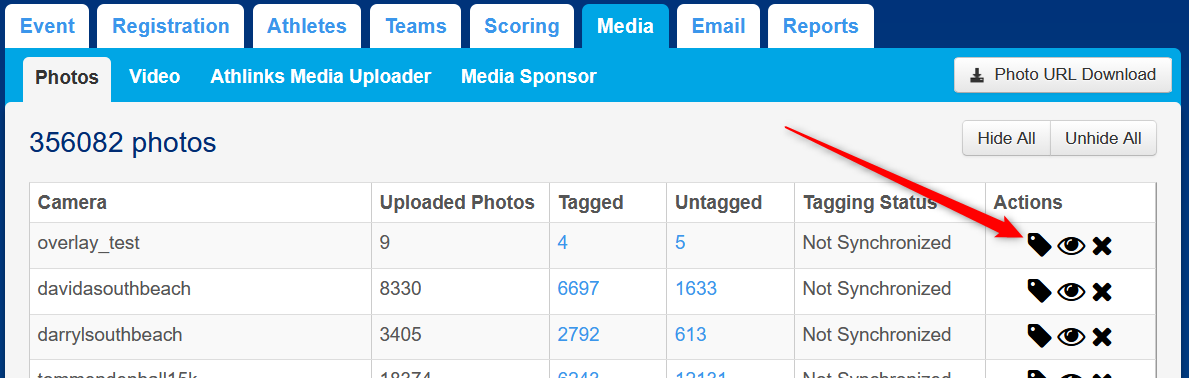
- Go to the Media > Photos tab and locate the Camera to which you uploaded the photos that need OCR tagging.
- Click the tag icon next to the Camera.
- In the window that appears, you can choose between two options: All Uploaded Photos or All Untagged Photos. These counts may differ slightly in certain situations.
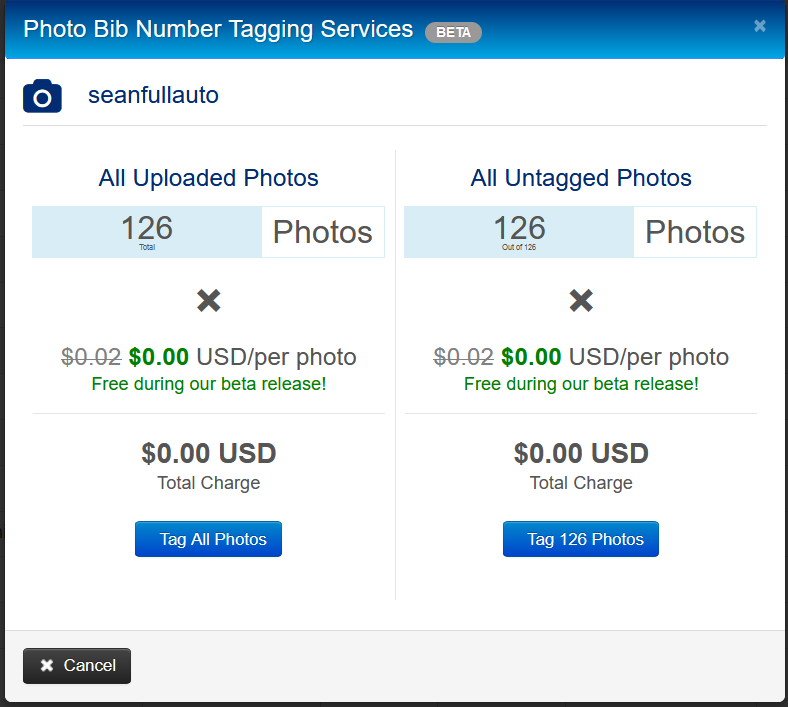
- Once you've clicked either Tag All Photos or Tag # Photos, you'll see the following summary:
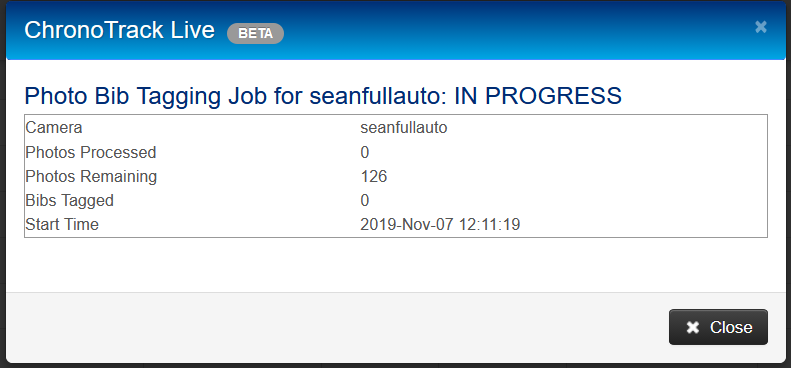
- Click the Close button and refresh the page. Note that the tag icon next to the camera you submitted is now a spinning green icon. This indicates that the tagging job is in progress.
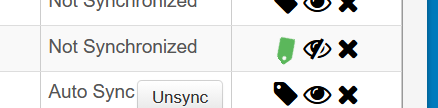
You can click the green tag to see the current status of the tagging job. Photos get tagged at about 10 per second.

Once the job completes, you may find that a number of photos still appear in the Untagged column. If the OCR service couldn't properly identify the bib number(s) in the image, it will err on the side of not making a "best guess". You can use the filters on the media tab to view only the Untagged images from the camera if you want to review them yourself.
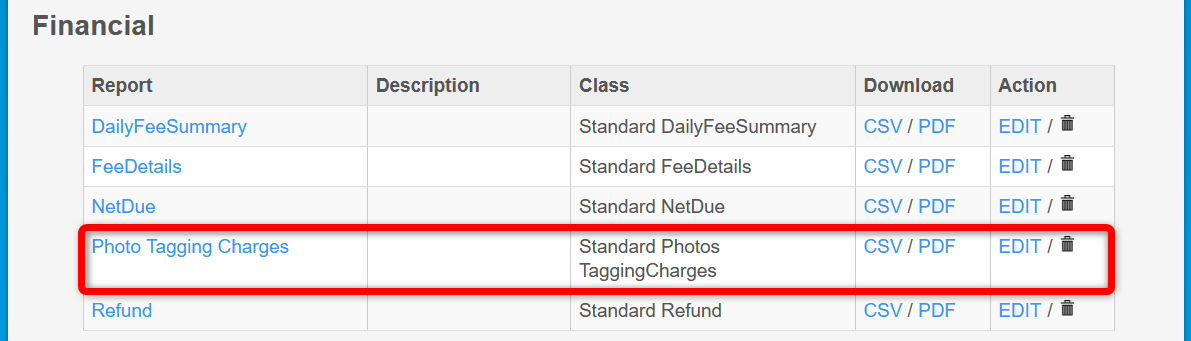
Using the Photo Tagging Charges Report
After submitting images for OCR tagging, you'll see the Photo Tagging Charges report appear in the Financial section of the Reports tab.
Only users with Event Director or Event Support level permissions can see the Financial section.
The report shows which Cameras were submitted for tagging, the user that initiated the tagging job, the start and end date and time for the job, what type of job (All or Untagged), Photo Count (number of photos SUBMITTED), Bibs Tagged successfully, Price Each, and Total.
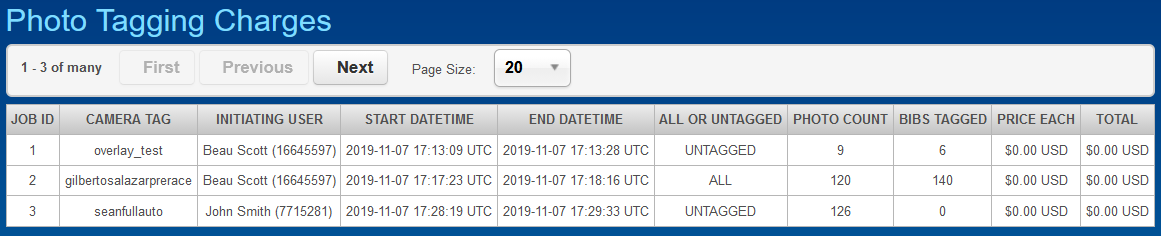
The Total will be billed to the Event separately, and NOT deducted from the Net Due amount.